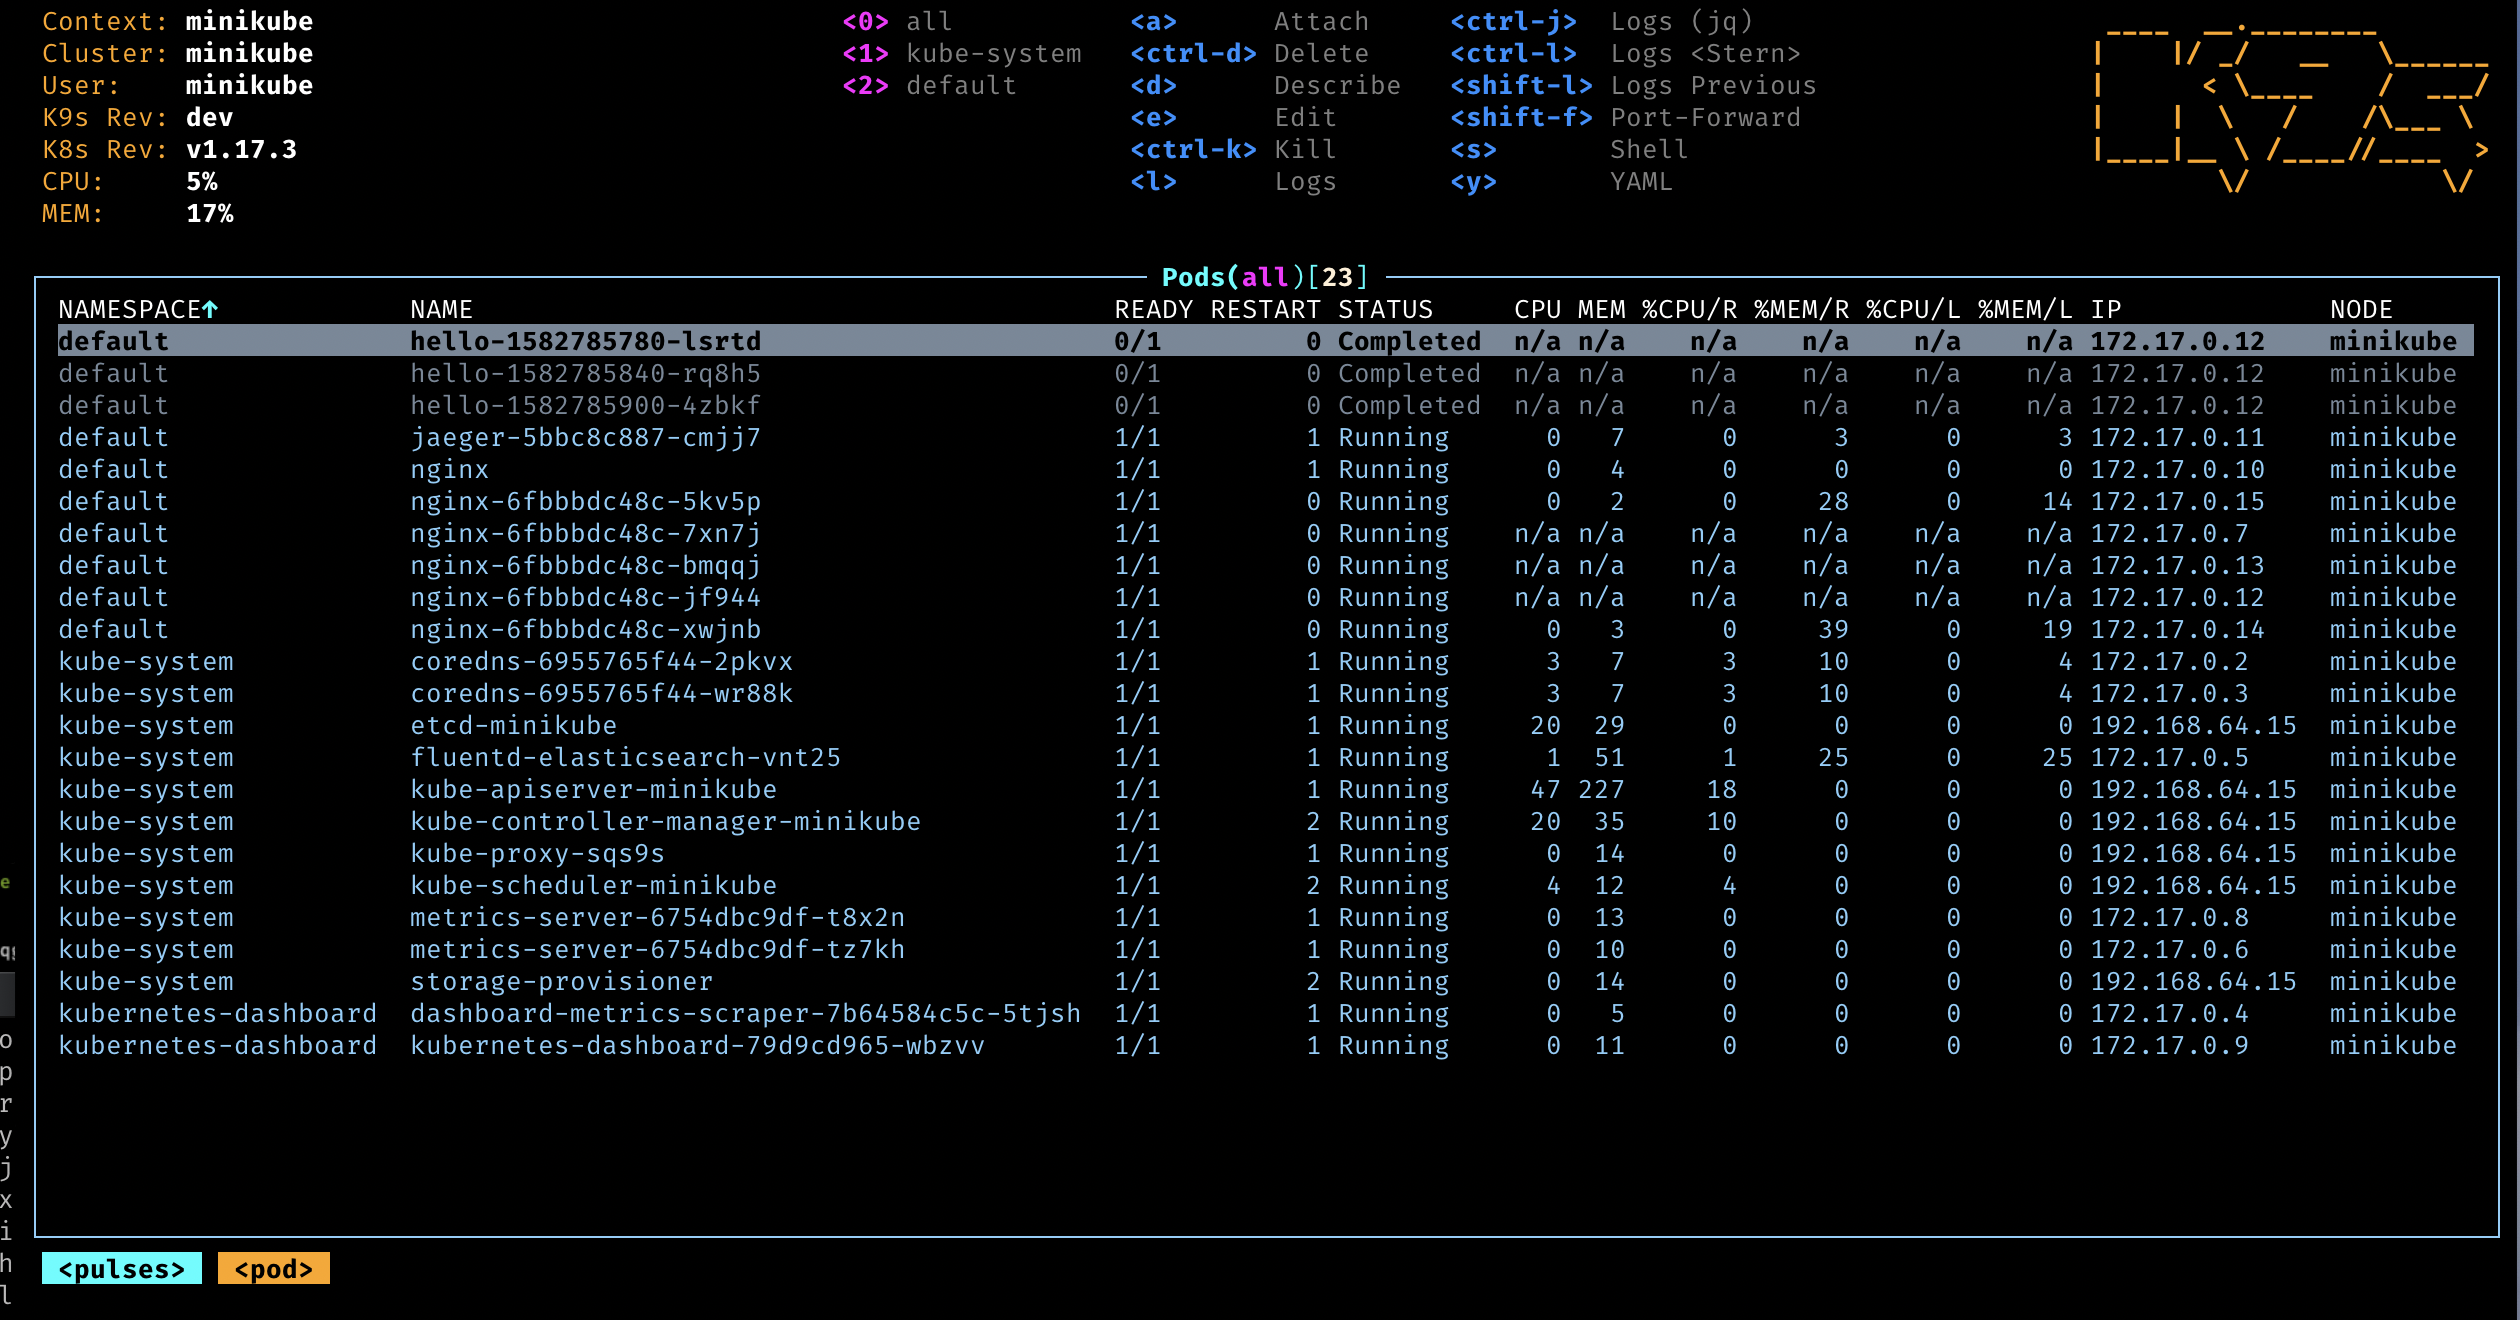
If you are new to Kubernetes, you are probably confused by kubectl. When I started working as a Platform Engineer at a company which used Kubernetes, I was too. I would search up commands and run them, get long and incomplete results, and go back to searching. Until I found k9s.
K9S
K9s is a tool that significantly simplifies Kubernetes use for beginners and advanced users alike. It’s a TUI with a friendly interface - listing pods, coloring failures, allowing shell access, printing logs and much more.
 To any beginner Kubernetes users, I recommend getting comfortable with K9S before moving to kubectl. Of course K9S is more limited, but it is still extremely useful.
Let’s go through a few K9S tricks. Simply running k9s in your terminal should show you the UI similar to the image above. Pressing 1 will put you in the default namespace, while pressing 0 will show every pod in every namespace. You can use vim motions to go through the rows, and press l to view the logs of any of the pods. You can press d to open the kubernetes configuration for that pod - see its labels, start time, which node it is in, what container it uses, and a lot more. And, when you inevitably find something wrong with a pod, you can press s to ssh into it. These functions should be plenty to get you started with debugging kubernetes clusters and finding 50%+ of the issues. However, when the issues are not in the pods, but in the services, configmaps, secrets, or are simply more niche than what K9S provides you - that’s when kubectl comes into play.
Understanding kubectl config
kubectl utilizes a configuration file to determine the cluster it should connect to and for additional settings. This configuration typically resides at ~/.kube/config. A single kubectl configuration can contain multiple contexts, each comprising different namespaces, users, and clusters.
To list all contexts in the configuration, run:
kubectl config get-contextsTo switch contexts, use:
kubectl config use-context {context_name}kubectl
Kubernets has many resource types - most common ones being:
- Pod
- Service
- Deployment
- ReplicaSet
- StatefulSet
- Job
- Ingress
- ConfigMap
- Secret
Each of these resources belong to a Namespace. kubectl can be used to list, describe and modify these resources. kubectl commands have a structure - regardless which resource you work with. For example, here’s how you can list resources in a specific namespace:
Viewing resources
kubectl get {resource_type} -n {namespace}So, if you run:
kubectl get pods -n defaultyou will get all the pods in the default namespace. Using pod or pods will both yield the same result. This command will also work with jobs, services, and other types of resources.
A common mistake is to forget the -n {namespace} at the end of the command. Regardless if you are trying to list, describe, modify any resource - you need to specify the {namespace} parameter if it’s not the default selected one.
Secondly, you can describe a specific resource using:
kubectl describe pod {pod_name} -n {namespace}The describe command essentially provides detailed information about the selected resource, such as its status, events, and configuration, aiding in debugging. For instance, running the command kubectl describe pod my-pod -n default will provide extensive details about the ‘my-pod’ in the ‘default’ namespace.
Editing configurations
Changing or modifying a configuration is also incredibly easy with kubectl, using the ‘edit’ command. Syntax is generally like this:
kubectl edit {resource_type} {resource_name} -n {namespace}For instance, the command kubectl edit deployment my-app -n default will open the configuration of ‘my-app’ deployment in your default text editor (usually VI or Nano), and you can make the necessary changes.
Running commands in pods
kubectl exec is the command used to execute a command in a container running in a pod. The syntax is as follows:
kubectl exec -n {namespace} {pod_name} -- {command}In some cases, you may want to open a shell process inside a container for interactive command execution. For that, you can use the -it option along with kubectl exec, which makes your terminal interactive and TTY. Here is an example:
kubectl exec -it -n {namespace} {pod_name} -- /bin/bashRunning commands directly in pods provides a convenient way to inspect and debug running containers. It is a powerful feature that helps in monitoring the internal state of an application, making it an essential tool in the Kubernetes administrator’s arsenal.